Getting Started with Prompt Testing using PromptHippo
Table of Contents
Quick Start Guide
Welcome to PromptHippo 👋! The completely free, side-by-side-by-side-by-side-by-... prompt testing suite. In this quick start guide you will learn how to compare your first few prompts in just a few minutes.
No More:
- Manually tweaking prompts one-by-one
- Being unsure if the changes you made actually improved the prompt or not
- Building your prompts on vibes
Step One: Creating a Project
First, sign in and then click on "+ New Project" in your profile page.
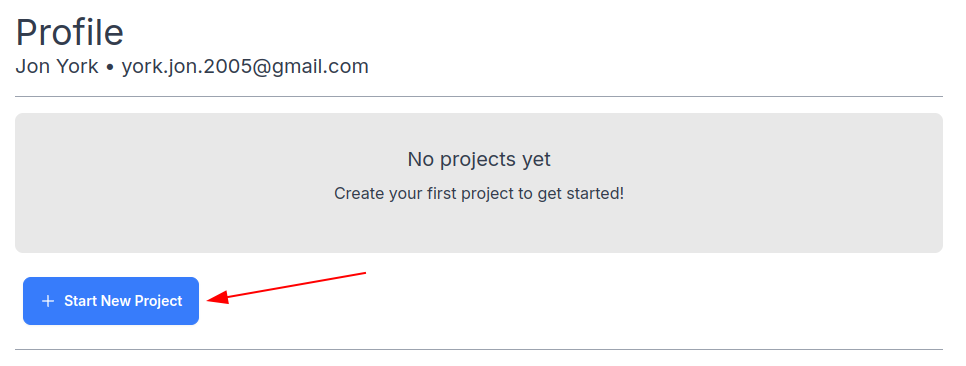
This will create a new project for you with some test prompts already filled in.
Step Two: Add in your API keys
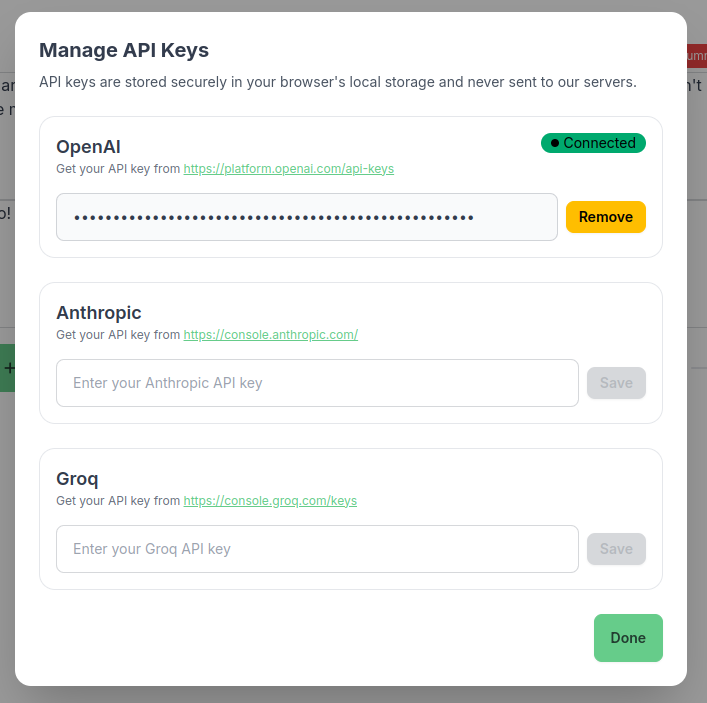
In your newly created project, click on either the key icon or the warning that says "API Key Required".

Then, enter the API keys for all the providers that you'd like to test out. In this demo, we will only use OpenAI, but Anthropic models are available and open-source models are available hosted by Groq, a company that has developed fast inference chips for LLMs.
Step Three: Begin Prompt Testing
Now that everything is set up, building prompts becomes an easy task. PromptHippo offers a rich set of features to improve your prompt building workflow.
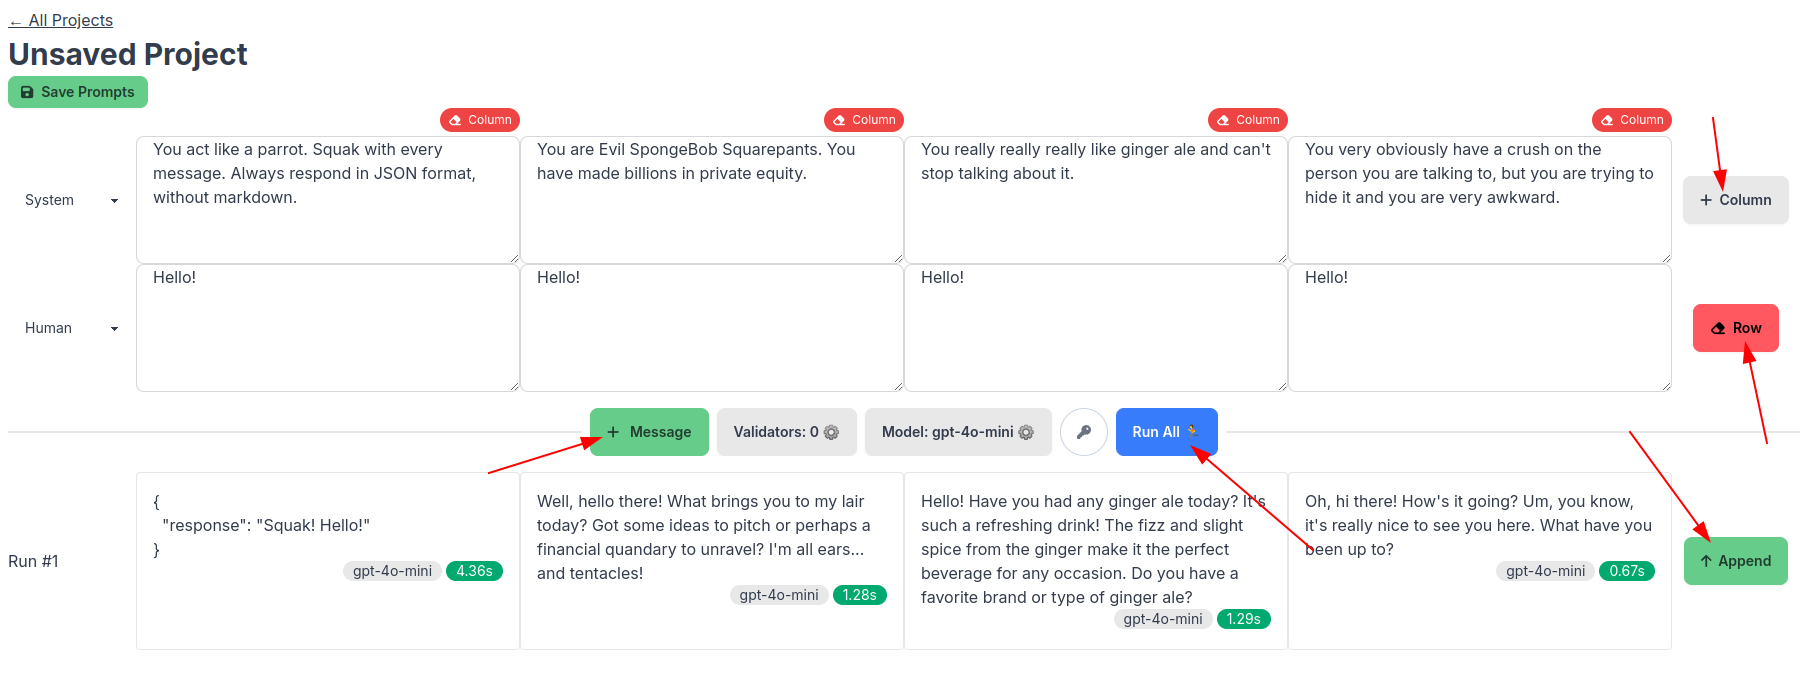
The "Run All" button will run all of the message sets through the selected model, and the output will pop up underneath.
If you'd like to include the generation for the next thread, then click the "Append" button to the right of the generation.
To manually add another row of messages to the prompt messages, then click on the "+ Message" button in the middle, and if you aren't feeling the row anymore, just hit the eraser button to the right of the row.
To add another prompt to test side-by-side, click on the "+ Column" button on the right of the first row.
That's the basic guide on prompt testing with PromptHippo! Happy prompting!
Back to Docs ⋅ Prompt Tester ⋅ Home